Setting or adjusting your watch strap: the complete guide.
When you receive your watch with a metal strap, you may notice that it is almost always too big for your wrist. Indeed, manufacturers always provide a large size margin, so that the watch can fit the greatest number of people. It will therefore be necessary to adjust the strap so that it fits your wrist perfectly.
There are two solutions available to you:
- Go to the nearest jewelry or watch store to have your bracelet adjusted by a professional. The cost of the service is generally between €5 and €10.
- Carry out the adjustment yourself directly at home, if you have the necessary skills and equipment.
We strongly recommend that you seek professional help, as the risk of scratching or damaging your watch is not negligible when you carry out the adjustment yourself. Improper handling can also lead to malfunctions, or even worse, make your watch unusable. This is why PSB WATCHES cannot be held responsible for an incorrectly performed operation, this guide is only intended to accompany you through the various adjustment steps.
For those who want to do it themselves, bracelet adjustment and link removal can seem a little intimidating at first, but with the right tools and instructions, you can easily do it at home. In this article, we’ll walk you through the process of adjusting a watch bracelet, removing extra links, and ensuring a perfect fit. This guide is primarily for bracelets with exposed pins like the Seiko 5; other types of bracelets will require slightly more advanced tools, which we’ll cover in a future blog post.1. Gather the necessary tools:
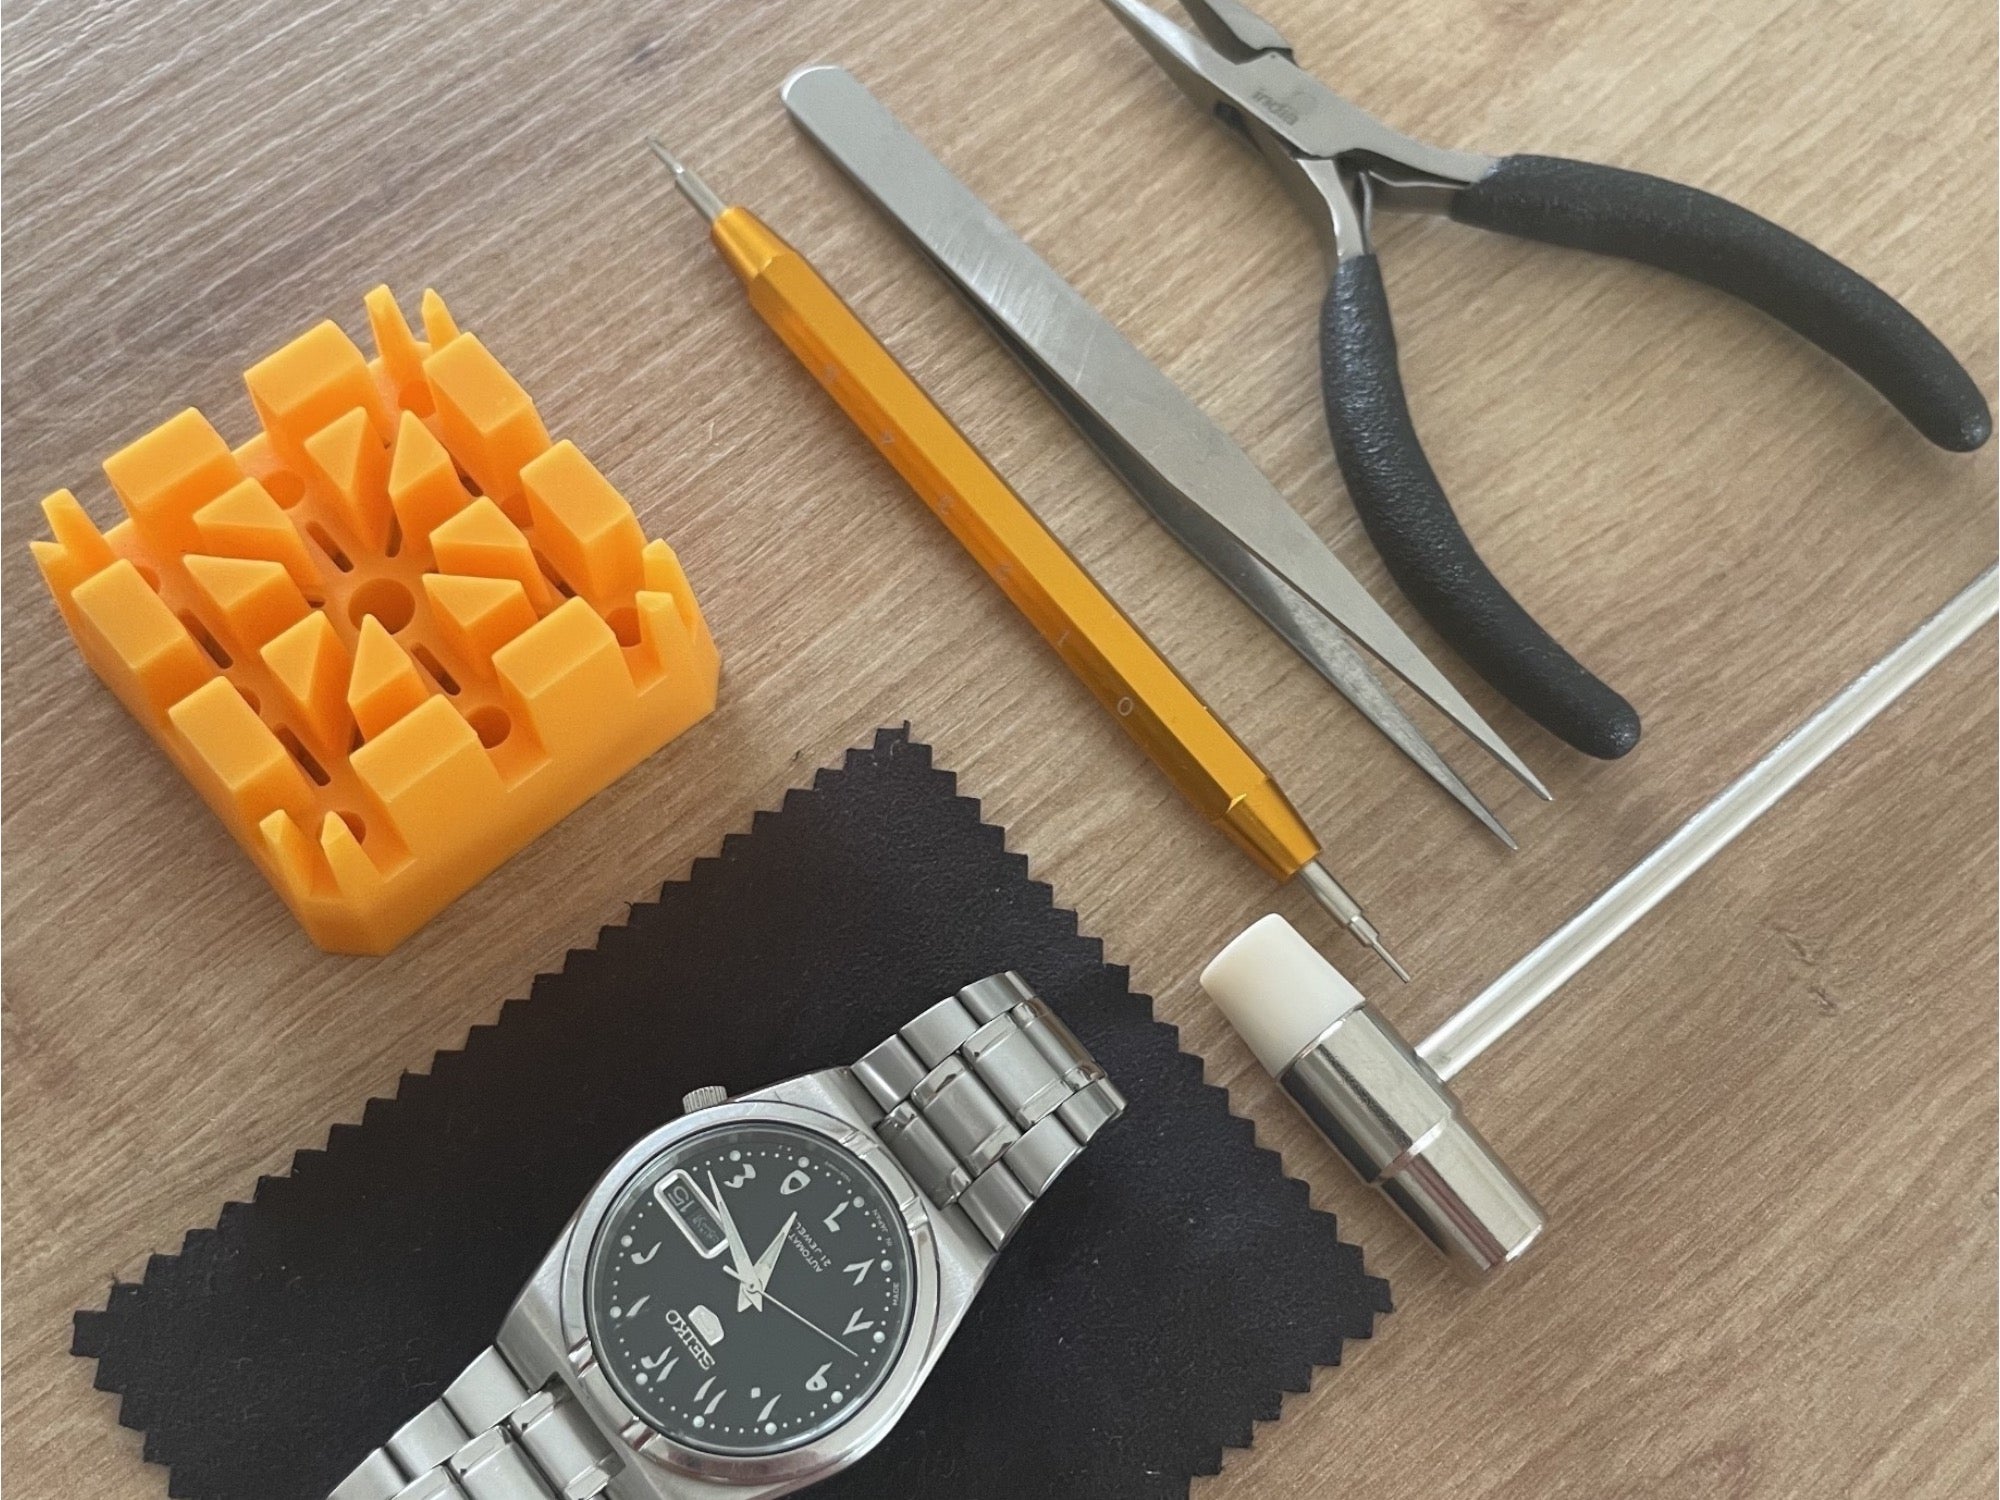
Before you begin, make sure you have the appropriate tools on hand. Here's what you'll need:
- A watch stand or soft cloth to protect the watch from scratches.
- A small flathead screwdriver or watch link removal tool.
- Tweezers or needle-nose pliers.
- A soft cloth to clean and wipe the watch.
- A small watchmaker's mallet

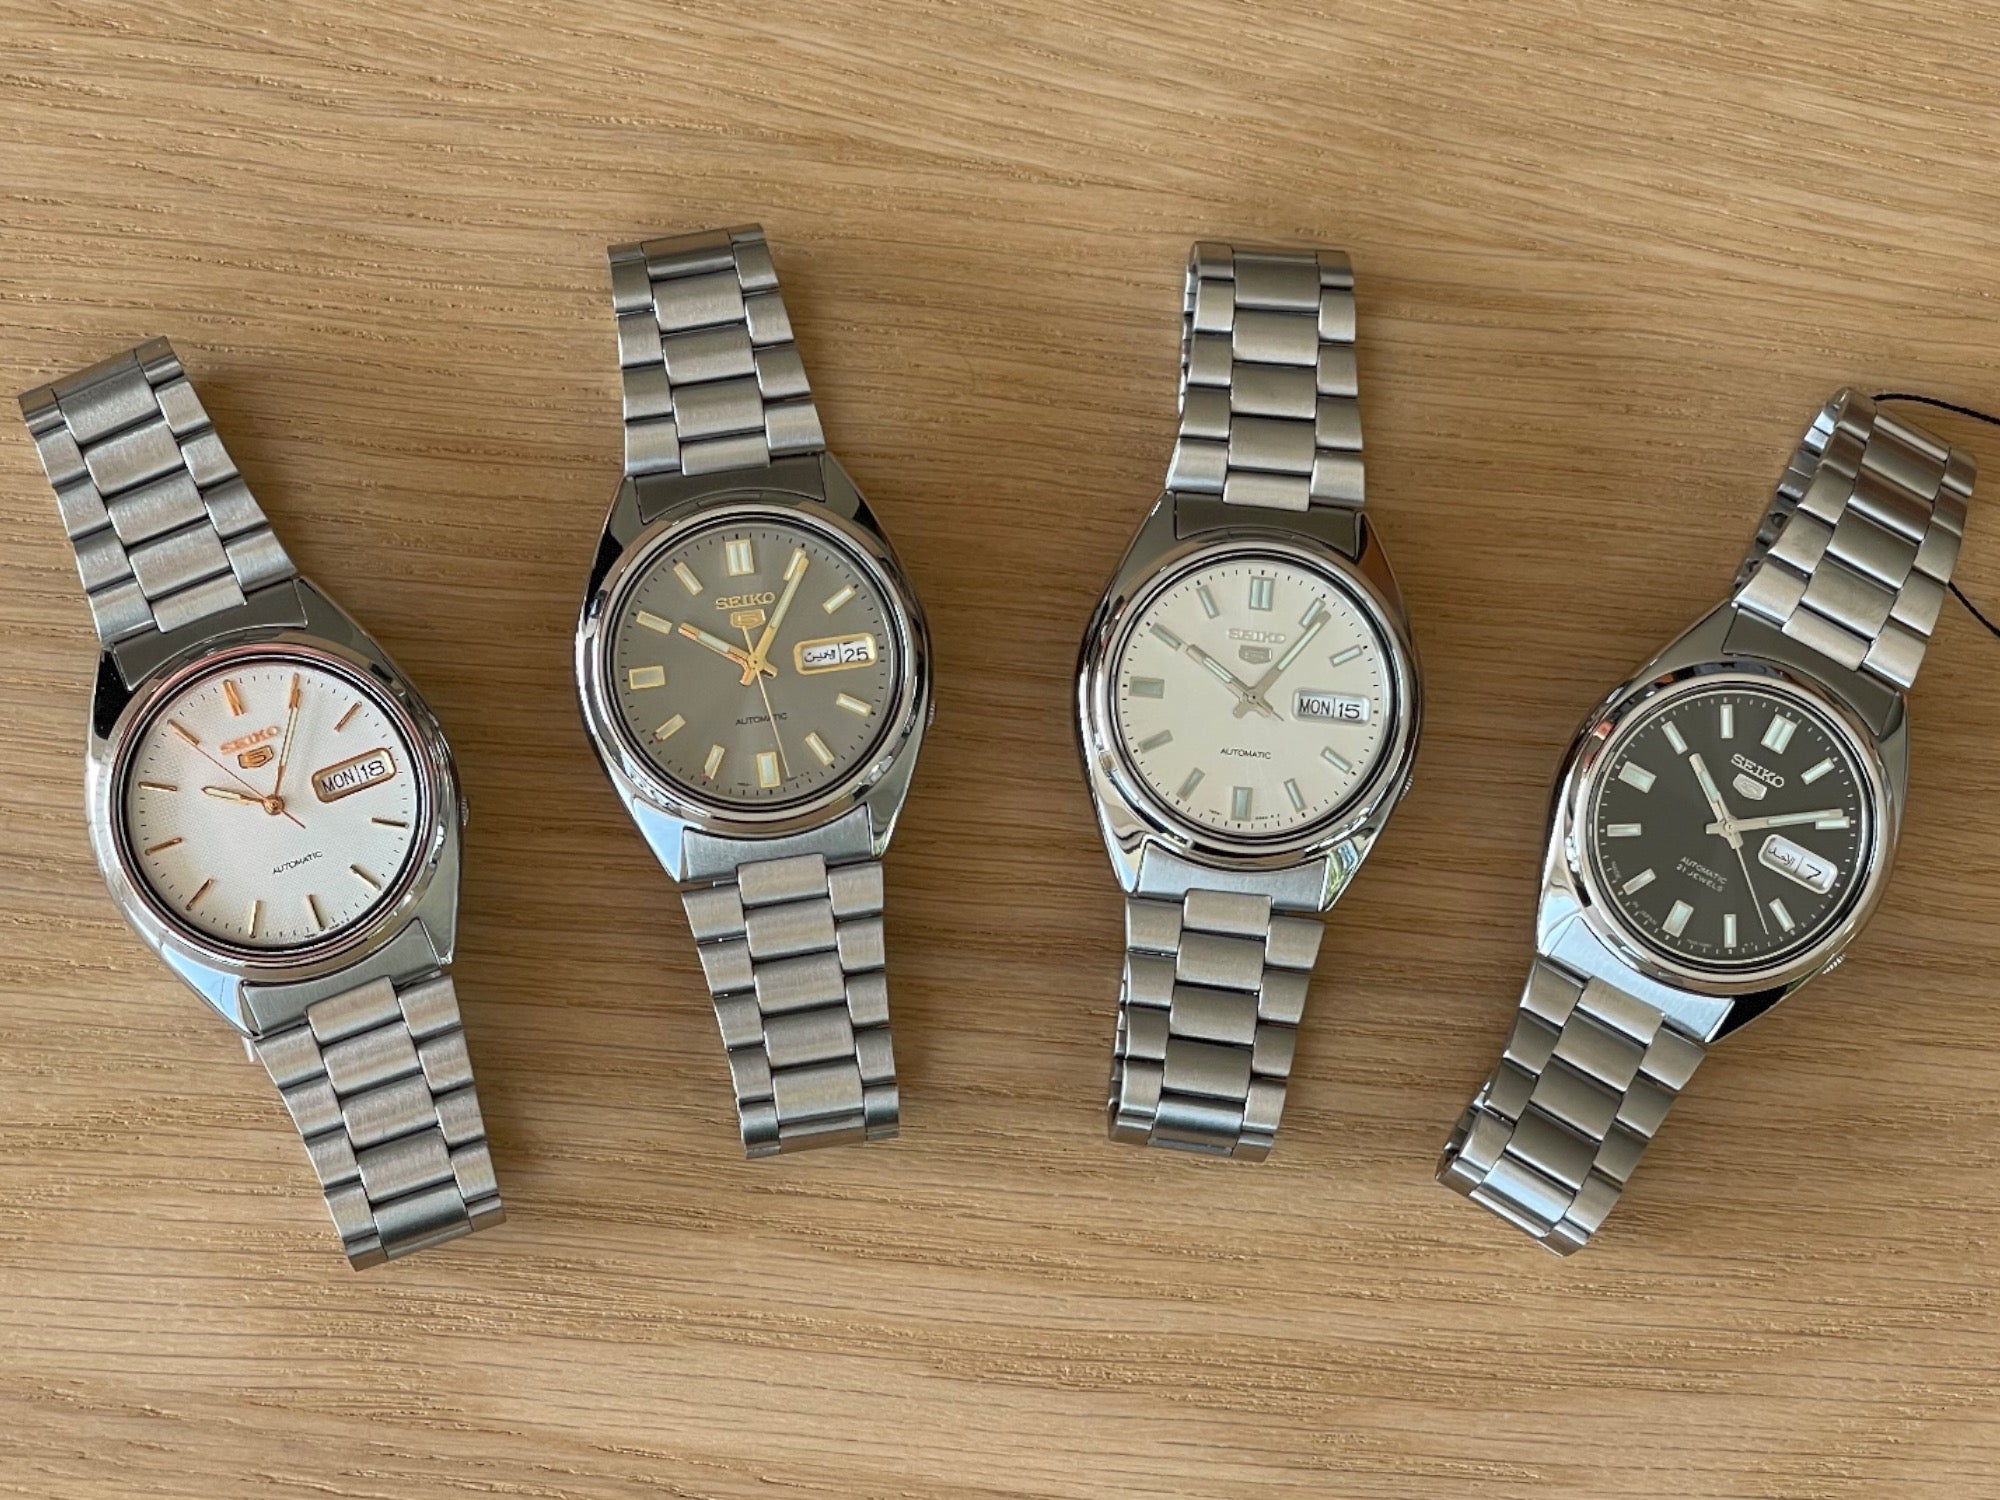
There are different types of watch bands, such as link bracelets, leather or rubber straps, and each type has its own adjustment methods. For the purposes of this article, we will focus on Seiko-style link bracelets, which are the most common. There are also link bracelets with a forced pin, you will simply need to use a pin extractor for this type.

3. Measure your wrist size:
Before removing the links, you should first measure the size of your wrist to determine how many links need to be removed. Use a soft tape measure or string to measure the circumference of your wrist. Write down this measurement for future reference.
4. Remove the extra links:
a. Place the watch on a stand or soft cloth to avoid scratching it.
b. Remove the pin from the clasp to separate the assembly and be able to work flat: be careful, it is mounted on a spring, so it is important to grip it firmly or it will jump out and you will lose it.

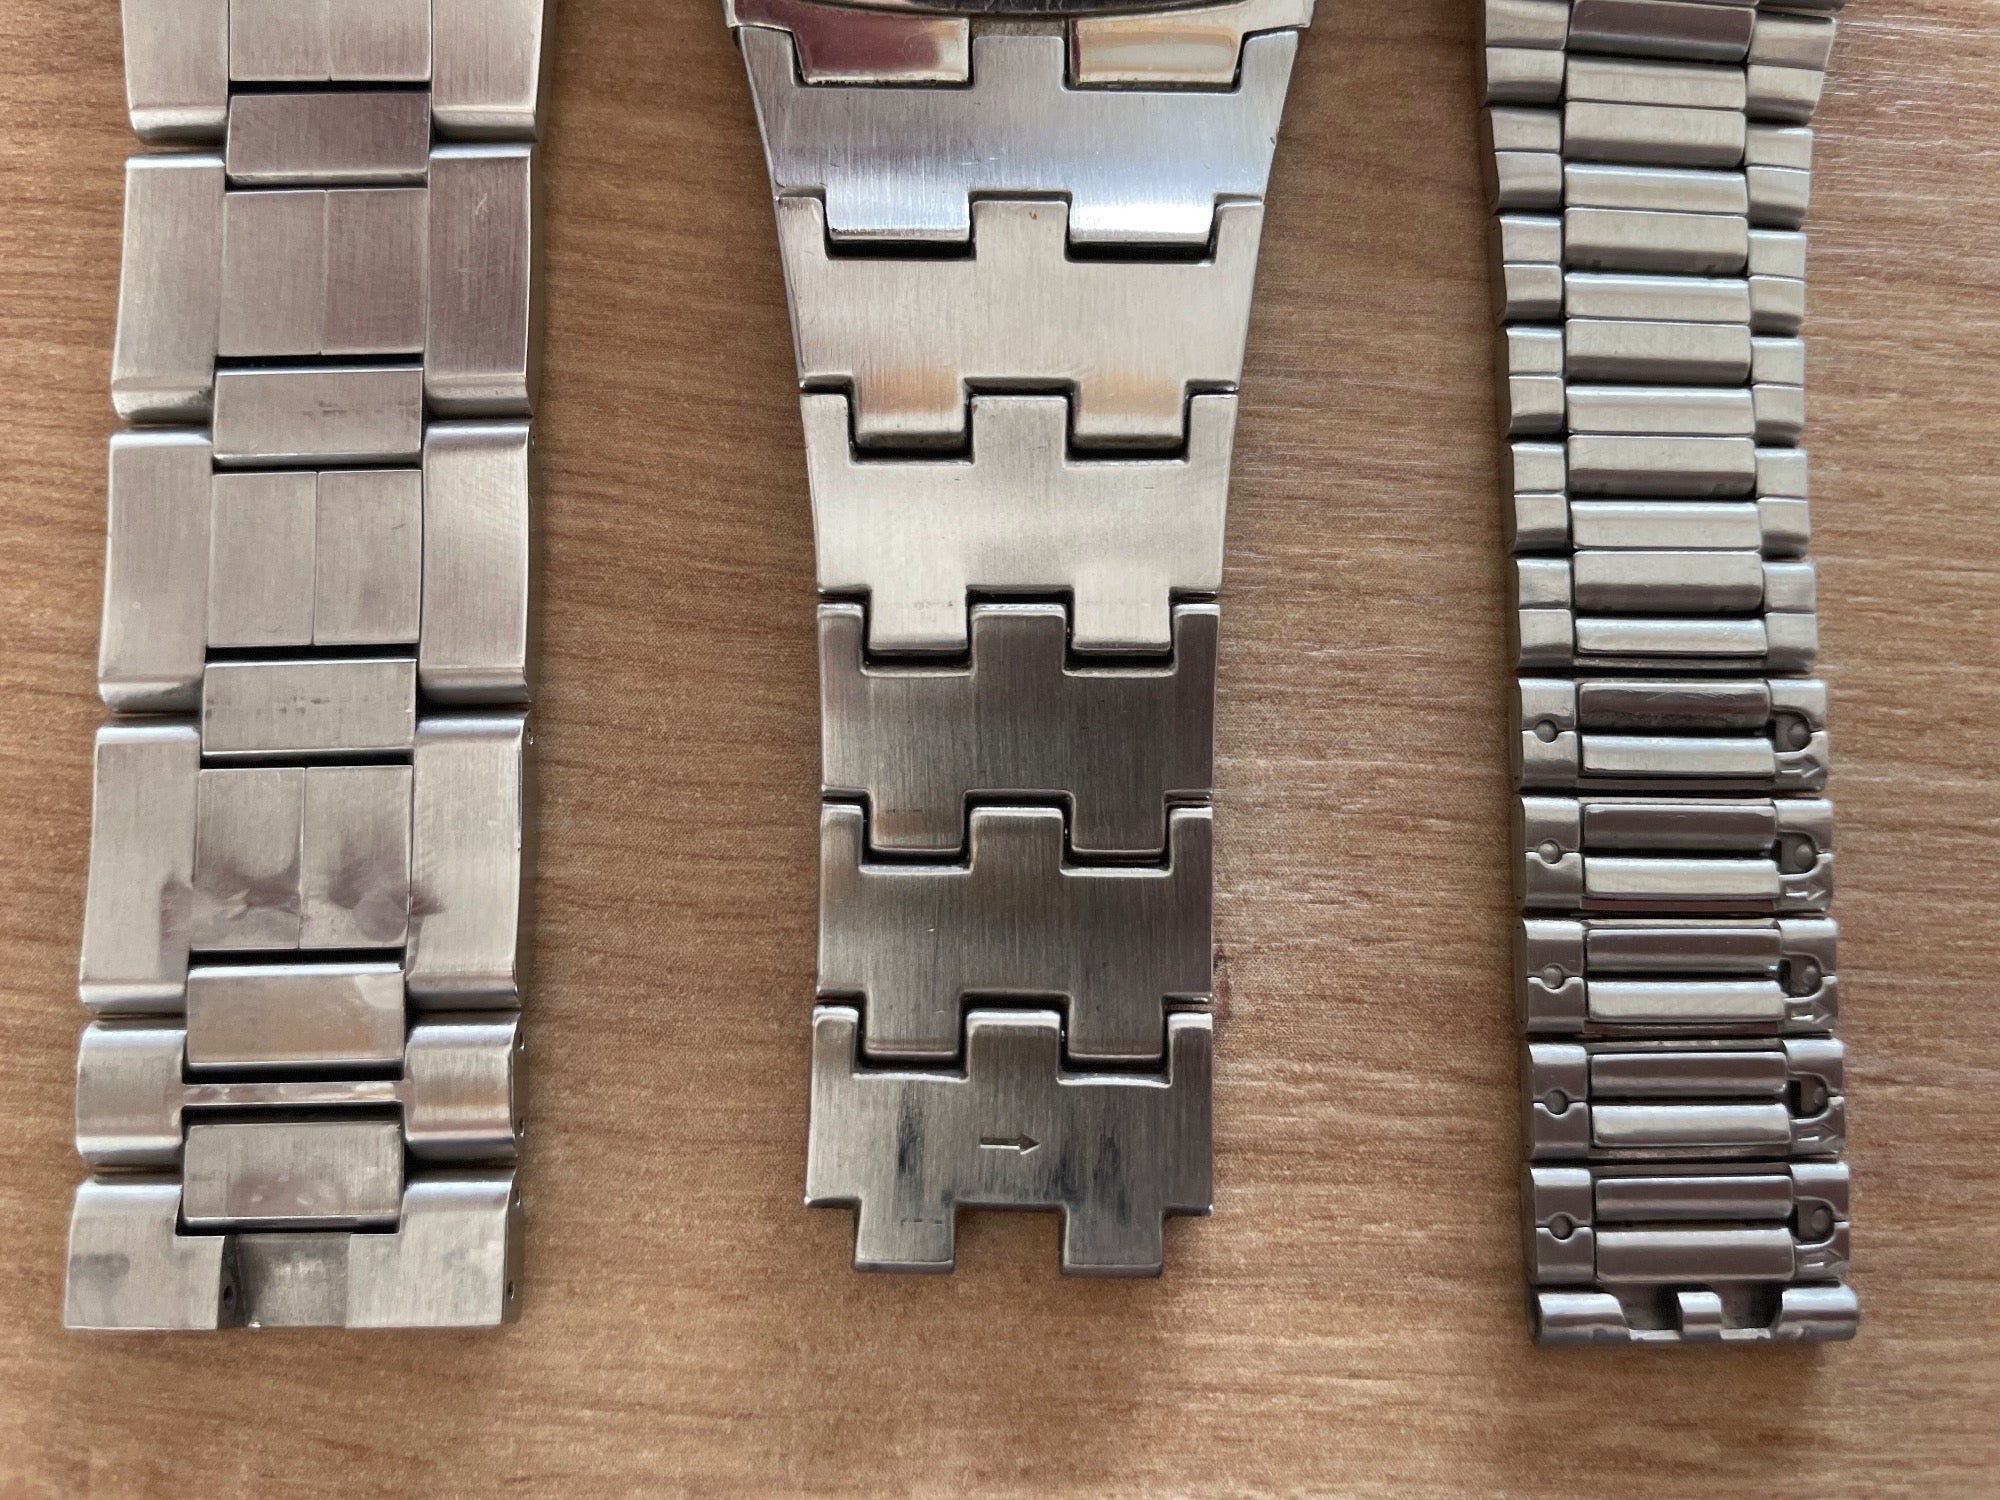
c. Look for arrows engraved on the inside of the links. These arrows indicate the direction in which the link pins should be removed.
d. Insert the small flathead screwdriver or link removal tool into the slot in the link pin, on the side indicated by the arrow.

e. Gently pry to push the link pin in the direction of the arrow. You can use the fine pliers to grab the pin and remove it completely.

f. Repeat this step to remove additional links until the bracelet reaches the desired size.
g. Make sure to remove an equal number of links from both sides of the bracelet to keep it balanced.
5. Reassemble the bracelet:
Once you have removed the extra links, you need to reassemble the bracelet to form a complete loop.
a. Insert the ends of the remaining links into each other until they snap together securely. Make sure the ends of the links line up properly for a precise fit.

b. Insert the link pin into the corresponding hole on the adjacent link. Use the needle nose pliers to hold the pin in place while pushing it through both links. Make sure it is inserted correctly and is snug. You can use a small mallet if the pin is hard to push in.

c. Repeat this step for each link you removed until the bracelet is completely reassembled. Once you have chosen the setting, you can put the spring pin back into place with a pointed tool. Check that it is properly seated in the holes by moving the bracelet up and down.

6. Check fit and finish:
Once the band is reassembled, put the watch on your wrist and check the fit. Make sure it is neither too tight nor too loose. You should be able to insert a finger between the band and your wrist without difficulty.
Once you are satisfied with the fit, carefully clean the watch using a soft cloth to remove any fingerprints or residue.

Conclusion :
Adjusting a watch band may seem like a complicated task, but with the right tools and instructions, it can be done at home. By following the steps in this article, you can adjust and fine-tune your watch band so it fits your wrist perfectly.
Always remember to handle your watch with care and protect its surface from scratches by using a support or a soft cloth, the use of watchmaking gloves is strongly advised. If you are unsure or if you have a watch of exceptional value, it is recommended to have the bracelet adjusted by a professional watchmaker.
Want a new watch for your wrist? Browse our site and select the model that suits you from a large collection of men's watches and women's watches .


1 comment
Ceinture montre
Skander
Leave a comment
This site is protected by hCaptcha and the hCaptcha Privacy Policy and Terms of Service apply.